


How to Install an Exterior Gate: A Step-by-Step Guide

How to Install an Exterior Gate
Installing an exterior gate can provide security, privacy, and a smart finish to your garden, driveway, or side entrance. Whether you're replacing an old gate or adding a new one, this guide walks you through the process from planning to installation.
Important Points To Consider Before Installing An Exterior Gate
Unlike making changes to the interior of your house, adding an exterior gate can be a bit more complicated, as you may need either the hinges or the closing mechanism to be mounted on a neighbour’s fence or wall. If it’s a side gate, you’ll need to attach one post to the side of your house, and the other to your neighbour’s. This requires a masonry drillbit, and needs to be done carefully to ensure the holes are drilled in the right place.
Important - If your new gate will need to be attached to anything belonging to your neighbour, make sure to see permission first. Arguments over boundaries can be difficult to resolve and so it is always best to avoid them by asking permission before undertaking any work that affects your property boundary.
What You'll Need:
Tools:
- Tape measure
- Spirit level
- Drill and masonry/wood drill bits
- Spade or post-hole digger
- Post level or line level
- Saw (if adjustments are needed)
- Screwdriver or impact driver
- Wrench/spanner (If using bolts)
- Materials:
- Gate (timber or metal)
- Gate posts (timber, metal, or concrete)
- Post mix or concrete (for setting posts)
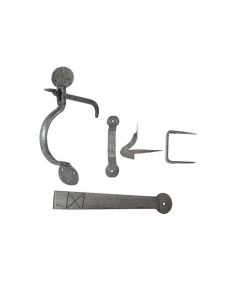
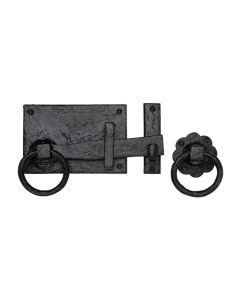
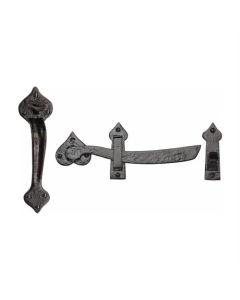
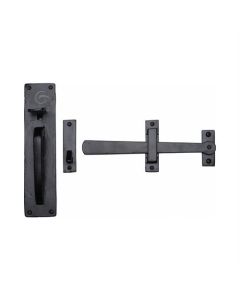
- Hinges and latch kit
- Screws or bolts
- Gravel (optional, for post drainage)

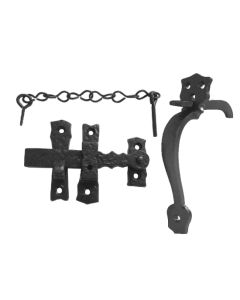
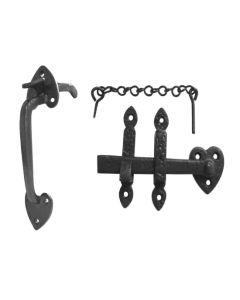
-M.Marcus-RDB414 457")


Step 1: Plan and Measure
Start by measuring the gate opening. Your gate should be slightly narrower than the total space between posts (typically by 25 - 50mm) to allow for hinges and easy movement.
If you’re installing the gate at the side of your house, you will need to establish if there’s enough room for you to install posts, or if the fixings will need to be directly attached to your house and the opposite wall or fence. If there’s enough room to install free-standing gate posts, you will also need to fill any gap between them and the walls on either side - featherboard is an economical way to do this when installing wooden posts, as it can be easily cut to the right height and attached with wood screws.
Key things to decide:
- Is it a single or double gate?
- Which way should it open? (Inwards is recommended)
- Do you need posts, or will the gate be mounted to a wall/fence?
Step 2: Prepare the Posts
If you’re using new posts:
Mark the Post Holes
Mark out where the posts will go. Ensure the space between them matches your gate width plus hinge allowances.
Dig the Holes
Dig holes around 600mm deep (or deeper in loose soil). The hole diameter should be at least three times the width of the post.
Add Gravel (Optional)
Add 100mm of gravel at the bottom of each hole to aid drainage and reduce rot for timber posts.
Position the Posts
Set the posts in the holes and check they’re vertical with a spirit level.
Secure with Post Mix or Concrete
Pour post mix or concrete into the holes, following the product instructions. Ensure posts remain level as the mix sets (you may need to brace them temporarily).
Tip: Allow concrete to cure for 24 - 48 hours before hanging the gate.
Step 3: Fit the Gate
Mark Hinge Positions
Place the gate against the posts to mark where the hinges will go. Use packers underneath to raise the gate to your desired height (typically 50 - 100mm off the ground to avoid drag).
Attach Hinges to the Gate
Fix the hinges to the gate first. Use screws or bolts suited to your gate material.
Hang the Gate
With the gate supported at the right height, fix the hinges to the post. Check the alignment and spacing before tightening all fixings.
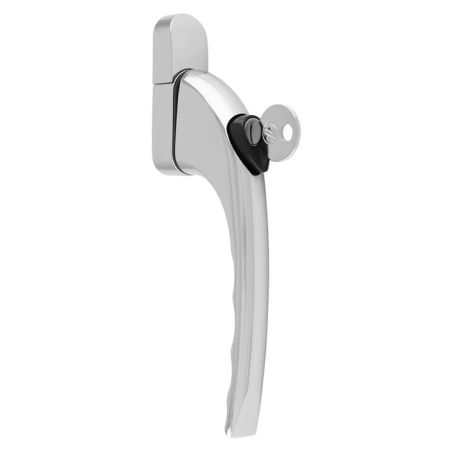
Fit the Latch/Lock
Attach the latch or lock hardware. Ensure it lines up with the catch plate and opens/closes smoothly.


Step 4: Final Adjustments
Check Swing and Clearance: Ensure the gate opens fully without catching the ground or post.
Test the Latch: Ensure the latch engages securely.
Finish the Timber (if applicable): If using a wooden gate, apply wood preserver, paint or stain to protect against weathering.
Step 4: Final Adjustments
Check Swing and Clearance: Ensure the gate opens fully without catching the ground or post.
Test the Latch: Ensure the latch engages securely.
Finish the Timber (if applicable): If using a wooden gate, apply wood preserver, paint or stain to protect against weathering.
Optional Extras:
Drop Bolt or Gate Stop: For added stability on taller or wider gates.
Weatherproof Sealant: Around posts if you're concerned about moisture ingress.
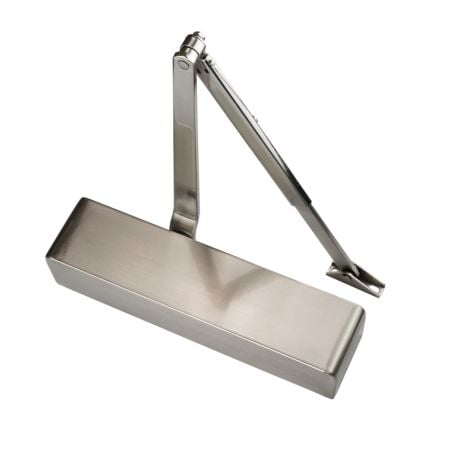
Automatic Gate Closer: Add a hydraulic gate closer to ensure it’s never left ajar.
Installing an exterior gate is a satisfying DIY task that comes with big gains in security for your property. Take time to measure accurately, level posts properly, and choose quality hardware to ensure a long-lasting result. If in doubt - especially with heavy gates or uneven terrain - it’s worth seeking help from a professional installer.
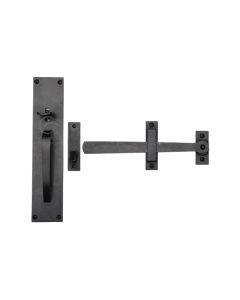
We stock a wide range of gate hinges, catches and latches in a variety of different finishes. Click here to check out our range of exterior gate hinges.