


How to Update the Hinges on an Internal Door: A Step-by-Step Guide

How to Update the Hinges on an Internal Door: A Step-by-Step Guide
Whether you're giving your home a refresh or replacing tired, squeaky fittings, updating the hinges on an internal door is a relatively simple task that can make a big difference. With a bit of patience and the right tools, it’s well within the reach of a competent DIYer, but there are definitely some hints and tips that will help you achieve a better result, with a smoother route to get there.
Here’s how to do it.
What You’ll Need:
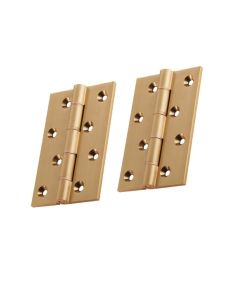
- New door hinges (typically 3” butt hinges for internal doors, but check your current size)
- Suitable screws (usually included with the hinges)
- Screwdriver or drill/driver
- Chisel and mallet (for adjusting the recess if needed)
- Utility knife
- Wood filler (if screw holes are worn)
- Sandpaper
- Pencil
Wedges to support the door (In a pinch, you can use a pile of junk mail for this job, but it might take some experimentation before you find out exactly how much you need - when the door has been re-hung, you can slide the letters out from the bottom first)
Step 1: Choose the Right Hinges
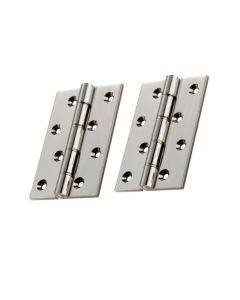
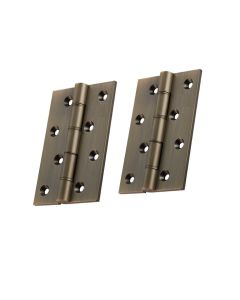
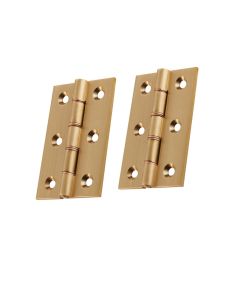
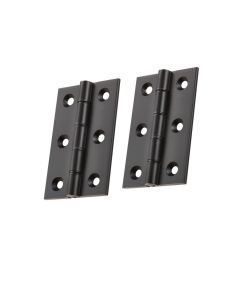
Most internal doors use two or three butt hinges. Measure the old hinges to match the size, or consider upgrading to high-quality solid brass or stainless steel options for longevity and better aesthetics.
Make sure the new hinges are suitable for the weight and thickness of your door. In addition to hinges that are hung with a pin, which you’re likely to find in older homes, modern hinges are available with a ball-bearing construction, which gives them a really smooth closing action. However, these hinges have a larger gap between the hinge leaves when closed, so if you’re swapping to them you’re more than likely to find yourself adjusting the mortice (the recess in the door frame where the hinge is attached) when fitting them.


Step 2: Prepare the Door
- Before you remove anything:
- Open the door and wedge it in place so it doesn't move.
- If you’re only replacing the hinges like-for-like, you might be able to leave the door on while you swap them one at a time.
- If the door needs to come off (for adjusting hinge positions or damaged frames), remove the screws from the hinges starting at the bottom and work your way up, with help if needed.
Step 3: Remove the Old Hinges
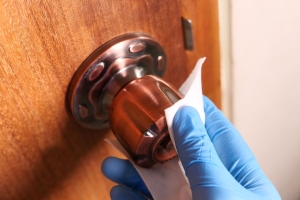
- Unscrew the hinge leaves from the door and the frame. If the screws have been painted over, you might have to use your utility knife to (carefully) chip away the old paint before you can use your screwdriver to unscrew them.
- Keep any screws that are in good condition - you may reuse them if they fit the new hinges.
If the old screw holes are stripped or too loose, fill them with wooden dowels or matchsticks and wood glue, then sand flush once dry.
Step 4: Fit the New Hinges
If the new hinges are the same size:
- Simply line them up in the existing recesses.
- Screw them into place - frame side first, then the door.
If the new hinges are a different size:
- Use a chisel to adjust the mortices (the recesses cut into the wood).
- Score the outline of the hinge with a utility knife, then carefully chisel out the extra depth or width.
- Check the fit regularly - you want the hinge leaf to sit flush with the surface.
Step 5: Rehang the Door
- If the door was removed, lift it back into position with wedges underneath to align it correctly.
- Screw the hinge leaves into the door, starting with the top hinge.
- Once all hinges are attached, test the door. It should swing smoothly and close without sticking or dragging.
Step 6: Make Final Adjustments
If the door doesn’t sit properly after the new hinges are fitted:
- Check the spacing around the door—uneven gaps may indicate hinge positioning needs a slight tweak.
- Tighten any loose screws.
- If needed, plane the edge of the door slightly to stop it from catching.
Bonus Hints & Tips
- Add a third hinge: For heavier or solid doors, a third hinge in the middle helps support the weight and reduce wear.
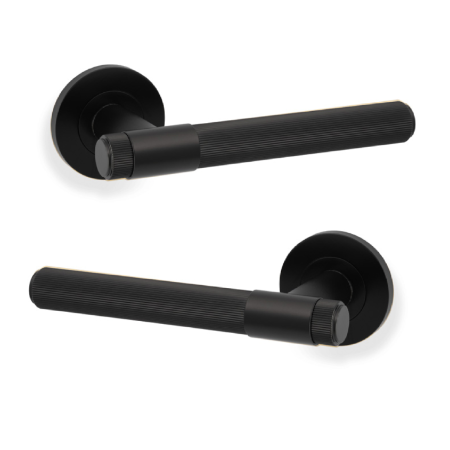
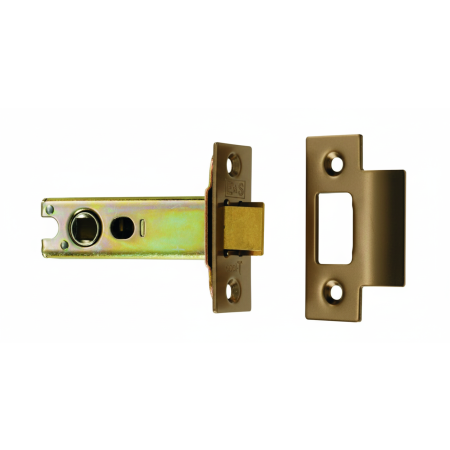
- Match your finish: If you’re refreshing ironmongery, consider updating handles and latches to match the new hinge finish.
- Maintenance: A dab of grease or a drop of oil in the hinge barrel will help keep everything quiet and moving smoothly.
Updating your internal door hinges is a quick win that can smarten up your interior and improve everyday use. It’s also a great excuse to choose high-quality fittings that feel solid and look the part.
If you're looking for traditional, robust, or decorative hinges, why not browse our full range?