


How to choose and install a door closer
How to choose and install a door closer
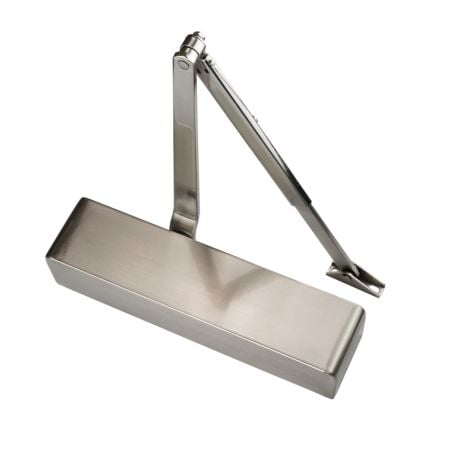
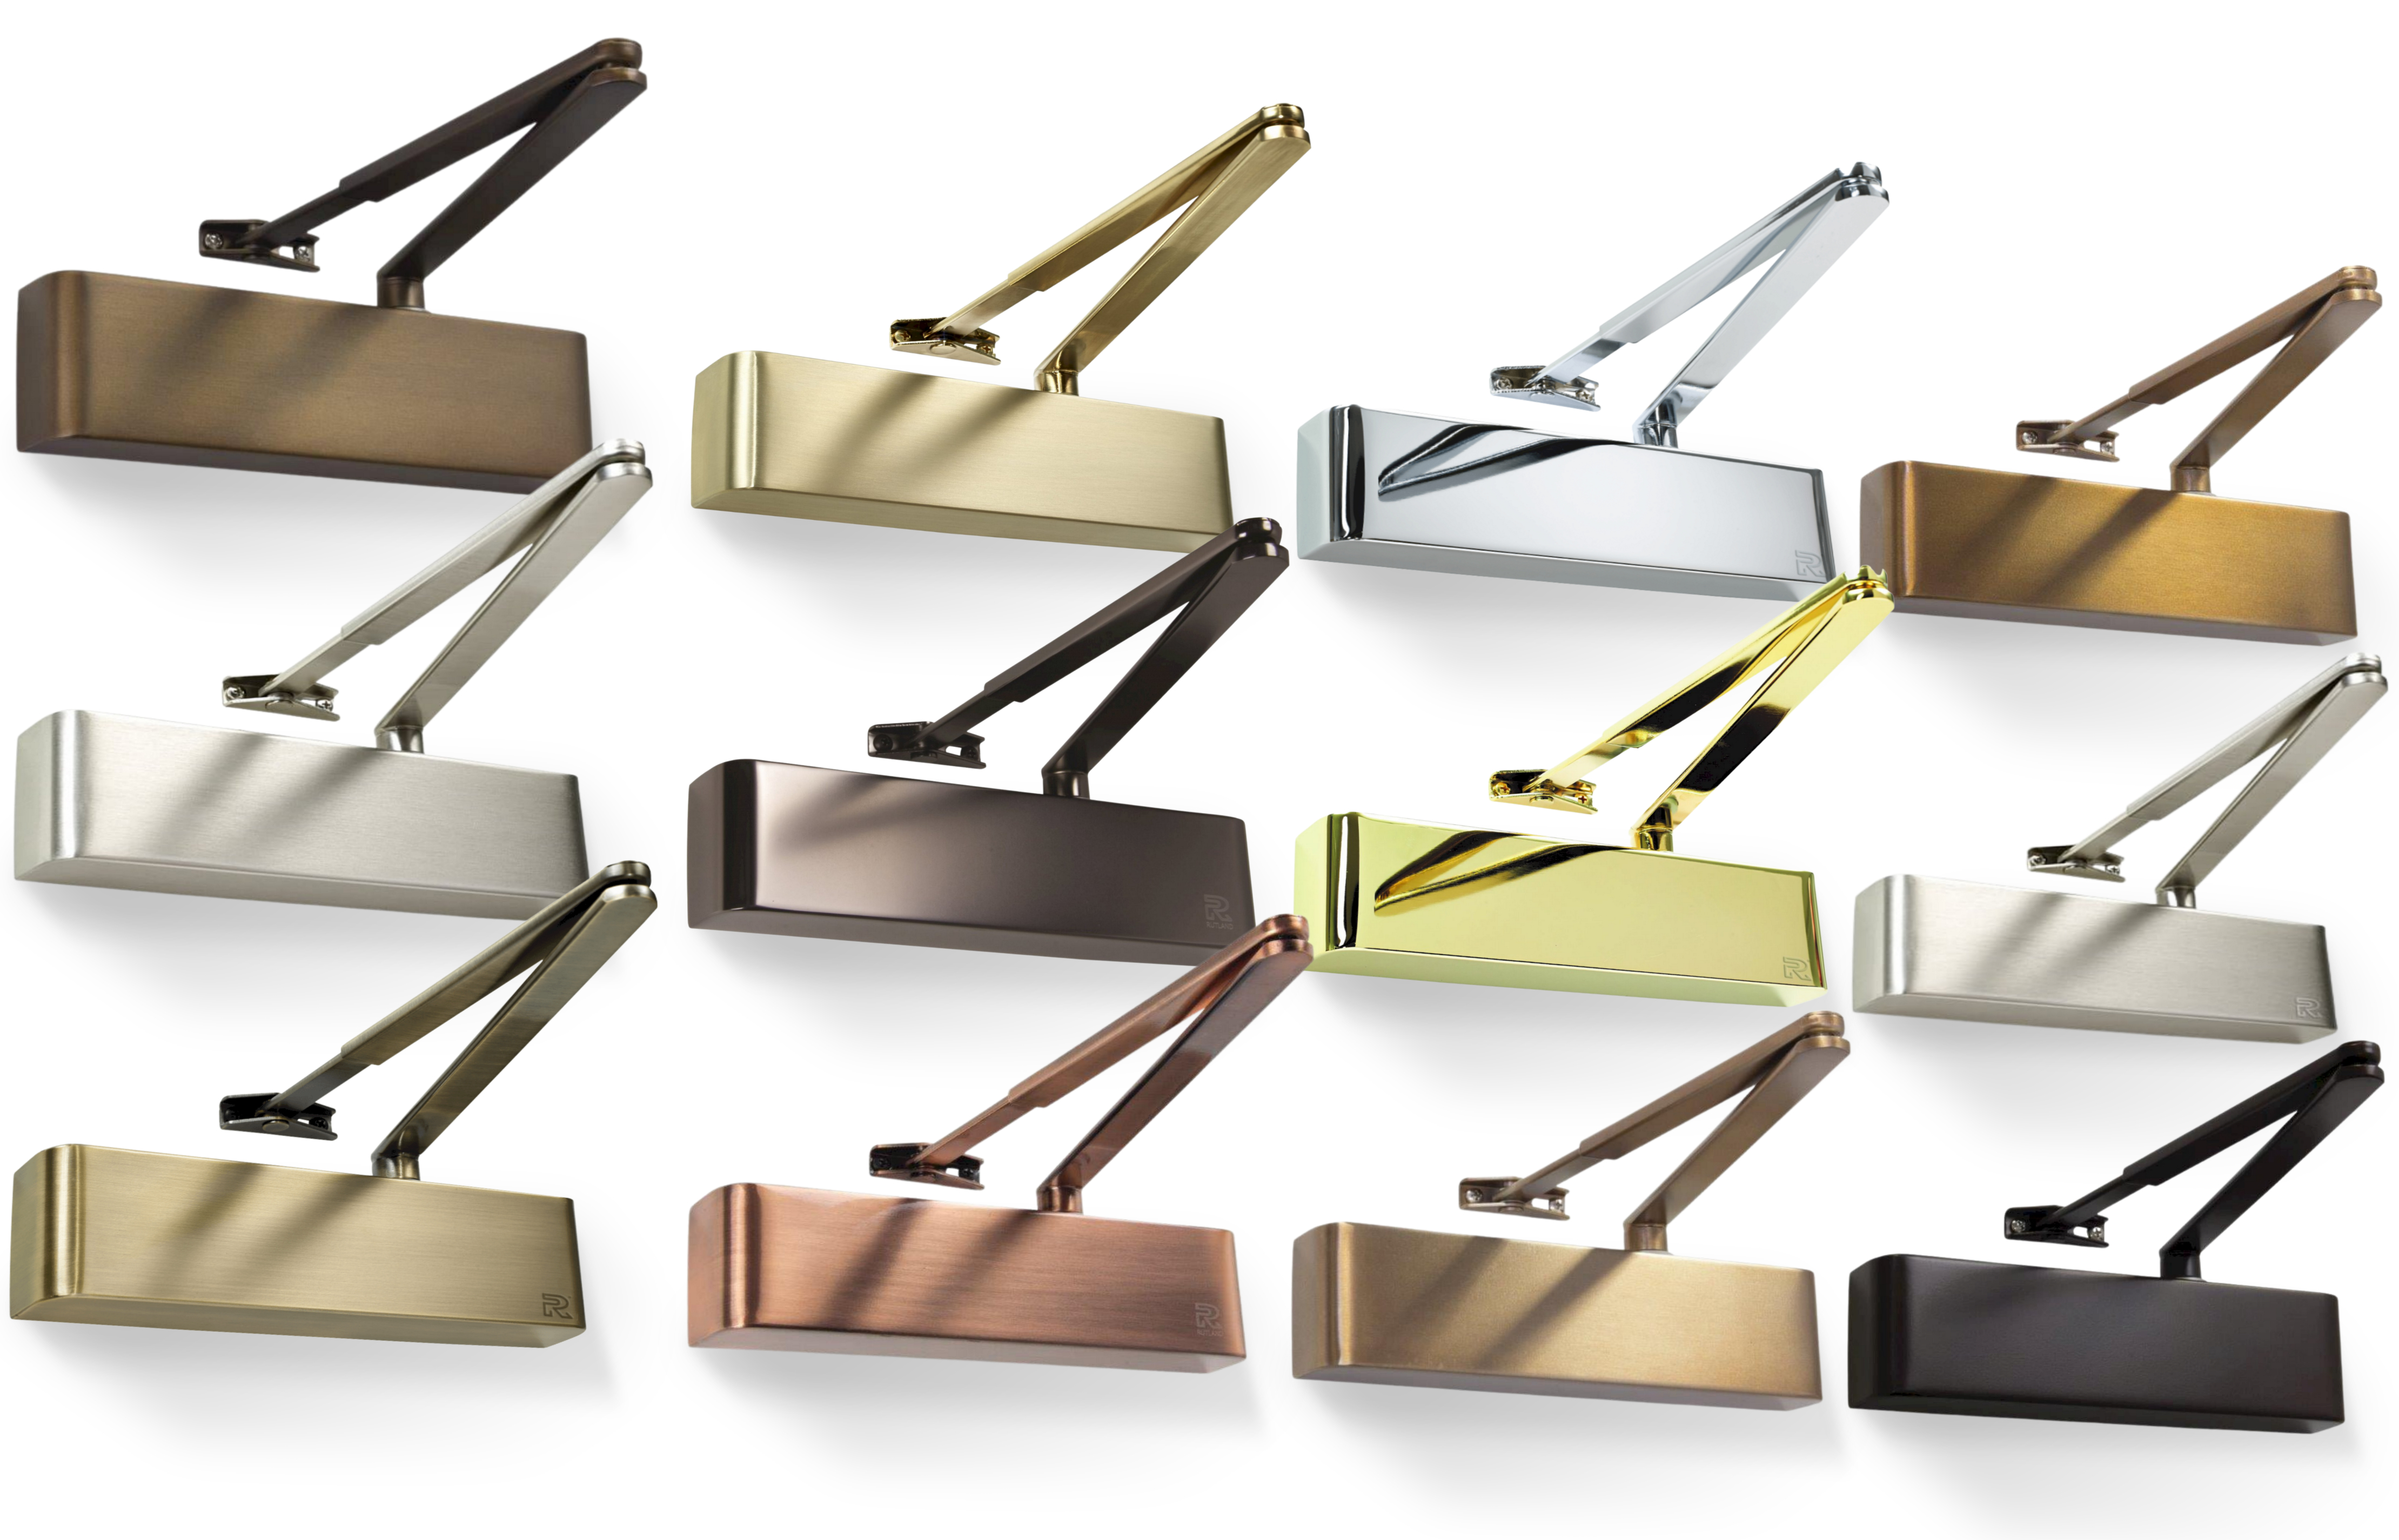
When it comes to interior or light exterior doors - such as those found in offices, apartments, classrooms, or small commercial spaces - a size 3 door closer is often the ideal choice. Designed for doors between 34 and 38 inches wide, it offers a perfect balance of control, safety, and convenience.
A well-installed door closer ensures that the door fully closes and latches every time, helping to meet fire safety regulations that require self-closing doors. It also enhances security by preventing doors from being left ajar.
Beyond compliance and safety, door closers play a crucial role in everyday comfort. They stop doors from slamming, protecting the frame and hinges, and reducing the risk of trapped fingers - particularly important in high-traffic environments.
In an era where energy efficiency matters more than ever, a size 3 closer can also help retain indoor heat, keeping drafts at bay and supporting your efforts to manage heating costs.
Adjustability is another key advantage. A size 3 closer can be fine-tuned to control the speed and force of closing, ensuring smooth operation with either push plates or standard door handles. This versatility makes it a smart and practical upgrade for any door that sees frequent use.
How to install a door closer step-by-step
Tools You’ll Need to Install a Door Closer:
- Drill
- Screwdriver (Phillips and flathead)
- Measuring tape
- Pencil
- Door closer template (included with most closers)
- Screws and mounting hardware (usually included)
Step-by-Step Instructions:
Check the Door Type & Swing
- Identify if the door is right-hand or left-hand swing, and if it opens inward or outward
Mark the Mounting Holes
- Tape the paper template (included with the closer) to the door and frame.
- Align it using the door's edge and hinge location.
- Mark holes for the closer body on the door and the bracket or arm on the frame.
Drill Pilot Holes
- Drill holes at the marked spots.
- Use drill bits sized appropriately for the screws provided.
Attach the Door Closer Body
- Secure the closer body to the door with the screws.
- Ensure the spindle (rotating shaft) is pointing up and away from the hinge.
Install the Arm Bracket
- Install the bracket or shoe onto the frame or head jamb (depending on mount type).
- Ensure it’s aligned according to the template.
Connect the Arm
- Attach the arm to the closer spindle.
For most models:
- The main arm goes on the spindle with a set screw.
- The secondary arm connects to the bracket/shoe.
- Set the arm at about a 90° angle to the door frame when the door is closed.
Secure and Adjust the Arm
- Tighten the set screw on the spindle.
- Use the provided screw to secure the arm to the bracket.
Adjust Closing Speed
- Use a screwdriver to turn the valve screws (usually labelled 1 & 2):
- Valve 1 – controls closing speed
- Valve 2 – controls latching speed
- Turn clockwise to slow down, counterclockwise to speed up.
- Open and close the door several times and adjust for smooth operation.
Click here to see our most popular size 3 door closer, with a very competitive price.