


How to replace a door handle

How to replace a door handle
Whether you’ve just moved into a new house or are looking to freshen up the look of the doors you’ve lived with for years, updating door handles can be a cost-effective way to make a noticeable difference.
It doesn’t have to be difficult, but there are definitely some key points to consider before you make a purchase, along with some techniques that can make life easier while you’re doing the work.
Things to know before you change your door handles
How well does the new handle fit over the space of the old one?
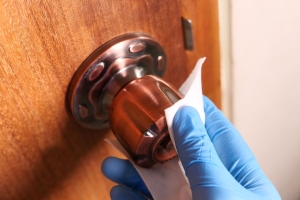
If the handle was fitted before the door was painted, or wasn’t removed before it was repainted, you might be in for an unpleasant surprise. Chances are that you’re planning to repaint the door anyway, but you’ll need a fine grain sandpaper to level out the different in height, and smooth off any paint ridges that might have formed around the old handle. This is especially true if you’re changing from a door handle with a backplate to one with a rose, as there will be a large area of the door exposed that hasn’t been before. There will also be screw holes to fill, which makes it wise to have wood filler and more sandpaper on hand.
Sometimes a big change is easier
Although it might seem counterintuitive, sometimes it’s easier to switch from a door handle with a rose to a handle with a backplate, or vice versa. This is because similar sized door handle might have slightly different screw placement, which can be difficult to correct if it’s too close to the previous holes. You can try filling them, but wood filler is slightly weaker than wood, meaning the screws will drag themselves back into the old holes if they get a chance.
Know when to use power tools vs hand tools
It’s tempting to rely on power tools for every job, but with a delicate process like screwing in a door handle an aggressive approach can strip the head of your screws, especially as some backplate door handles come with crosshead screws, which are considered more visually appealing. Mark out where the screws need to go using the new handle as a reference, drill pilot holes to start the process (but be careful not to use a bit bigger than the screws!) and then use a hand screwdriver to finish the job.
Differences between rose door handles and backplate door handles
The key thing to know about door handles on a rose and door handles on a backplate is that backplate handles are slightly easier to attach, and are probably the better choice for beginners.
This is because the two sides of a door handle with a backplate will screw directly to the door - there’s no alignment required beyond making sure the handles are horizontal.
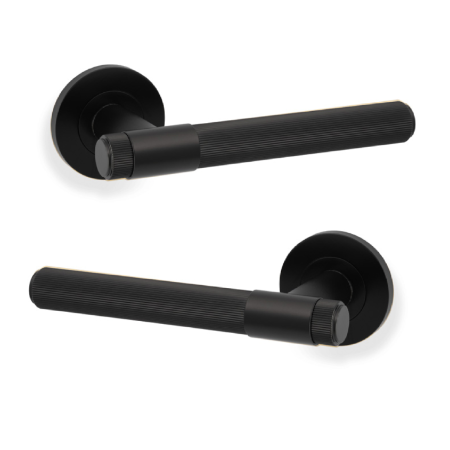
A door handle with a rose, however, has a more complicated construction. Because the part that attaches to the door is much smaller than a backplate, the force it has to withstand from being turned is much greater. This is offset with the inclusion of a male to female screw. To properly fit the door you need to drill two holes straight through, one to go through the screw hole at the top of your handle, and one to go at the bottom.
You then need to assemble this screw through the door, holding one end in place with screwdriver 1 and using screwdriver 2 to turn the longer part into the shorter, securing the new handle so that it can endure everyday use.
Replacing a door handle
Before starting on a door handle replacement, make sure that you have the right tools to do the job:
Before replacing:
- Sandpaper
- Suitable paint
- Brushes
- Mini roller
- Paint tray
- Paint stirrer
When the door is ready:
- Two hand screwdrivers
- Drill
- Junior hacksaw with blade suitable for cutting metal
- Handles and screws
- Spindle
- Spirit level
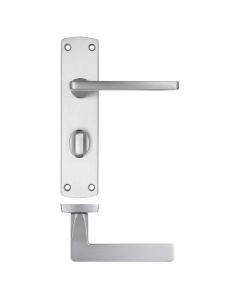
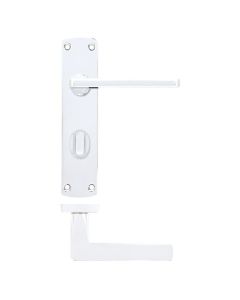
How to replace a door handle on a backplate
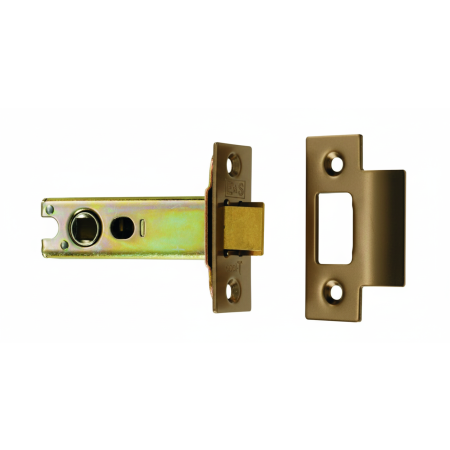
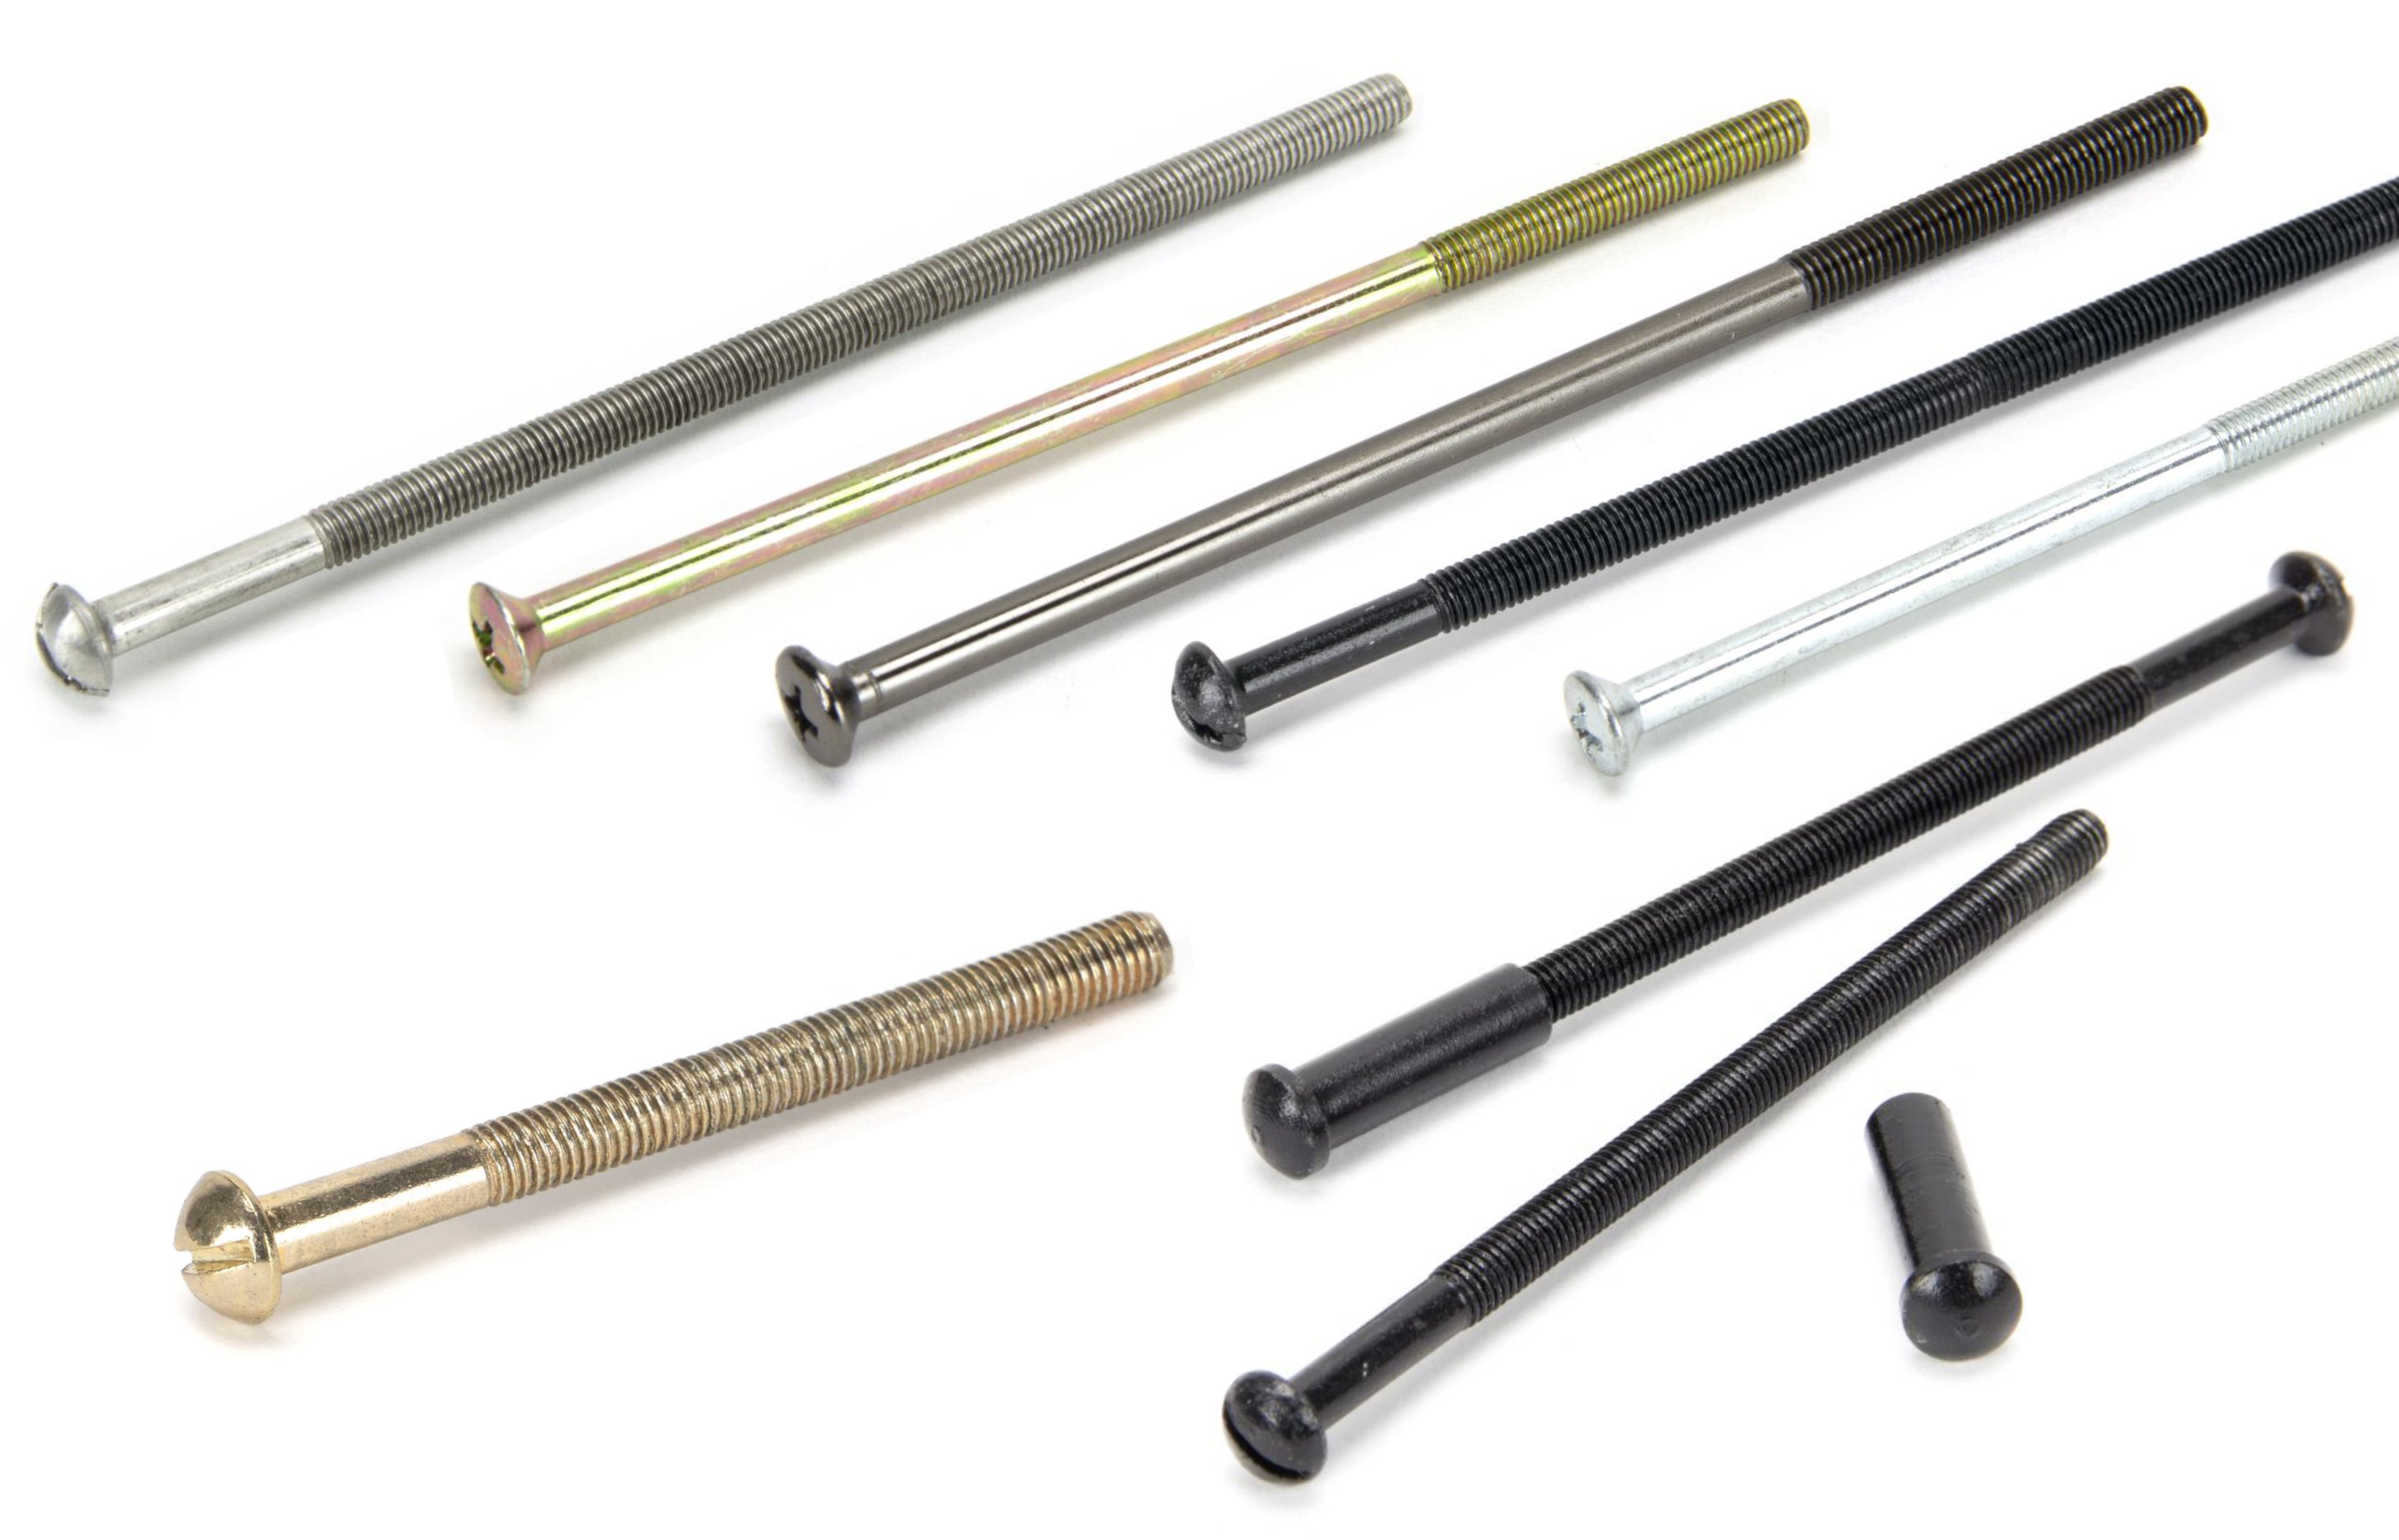
Before picking up a screwdriver, check that the spindle (the piece of metal that goes through the door and connects the handles to each other) is the correct size for your door. It should fit snugly between the two handles and the hole in the latch mechanism inside the door, and allow both handles to sit flat on the door. If it’s too long it can be cut to size with a hacksaw, but as this can be time consuming it’s recommended to measure the correct size before ordering so that you know it will fit. If it’s too large to fit through the latch or too small to effectively turn it (which will cause problems with opening the door), you may need to replace the latch mechanism entirely, which you can find a guide to here. Our range of latches can be viewed here. If you’d prefer a new spindle, we do carry a wide range that are likely to be able to help.
When your spindle is ready to use, the next step is to insert it into the mechanism and place one of the handles onto it. Combine this with the use of your spirit level and ensure the handle is properly horizontal. Mark out the placement for the screws, remove the handle and drill the pilot holes for just two of the screws - top left and bottom right. Place the handle back on the spindle and insert the two screws. Now test the handle to ensure that it has enough play to be able to fully open the door mechanism. It’s very unlikely that it won’t, but if that is the case, either the latch or the handle will need to be changed.
Once you’re confident that the latch is working properly, remove the handle again and add the pilots for the other two screws, then fully attach the handle with all four screws.


 120mm x 40mm Polished Brass")


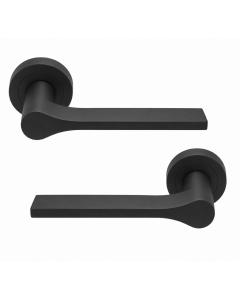
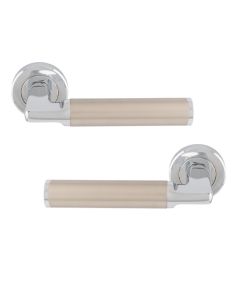
How to replace a door handle on a rose
For door handles on a rose plate, this process is slightly different. You can still use the two standard screws to attach and test the handle, but you’ll need to use the holes to the left and right of the handle.
Once you’re happy it’s doing the job, mark out the holes above and below and remove the handle as you would with a backplate handle.
You should then put the handle on the other side of the door, ensure it’s horizontal and mark out all the holes to drill.
This is where it becomes more complicated, as you can now use one of two methods to drill the holes for your male to female screws.
You can drill the hole straight through the door, which has the advantage of creating a direct route for your screw to travel through. However, if any of the parts of the door are misaligned, it may not be in the right place when it emerges. It will also cause more damage to the side of the door it emerges from than if you drill into each side separately.
The second method is to do just that - drill into each side. This is neater, but may make it more difficult to marry the male and female screws in the door, as the paths of the drill holes may not align. With a cheaper door the interior is cardboard, allowing you a little “wiggle room”, but with a solid wood door this will be more difficult.
You can then place the handle on the other side and mark out the screw holes, drill your pilots and properly attach the handle.
One quick note - it’s advisable to fit the handle on the outside of the room first. Fitting the handle on the inside can be awkward if the door closes before it’s attached, as it won’t have sufficient grip to both activate the latch and allow you to pull the door open.
Once the handles have been attached on both sides, and you’re happy with the action working correctly, the final job is to check the handles are tightly attached. Many have a small grub screw that joins them to the plate, which can be tightened with an Allen key that’s supplied in the box. Be careful not to overtighten, but you will want the handles to be attached as tightly as possible so that they’re easy to open - if they’re loose enough to feel at all floppy, that could affect the ease of using the door.


Shop our wide selection of door handles looks and finishes
If this has given you a nudge to replace your door handle but you haven't yet found the perfect option, browse our wide range of door handles today to find it.