


How to Fit (or Replace) a Letterbox in a uPVC Front Door
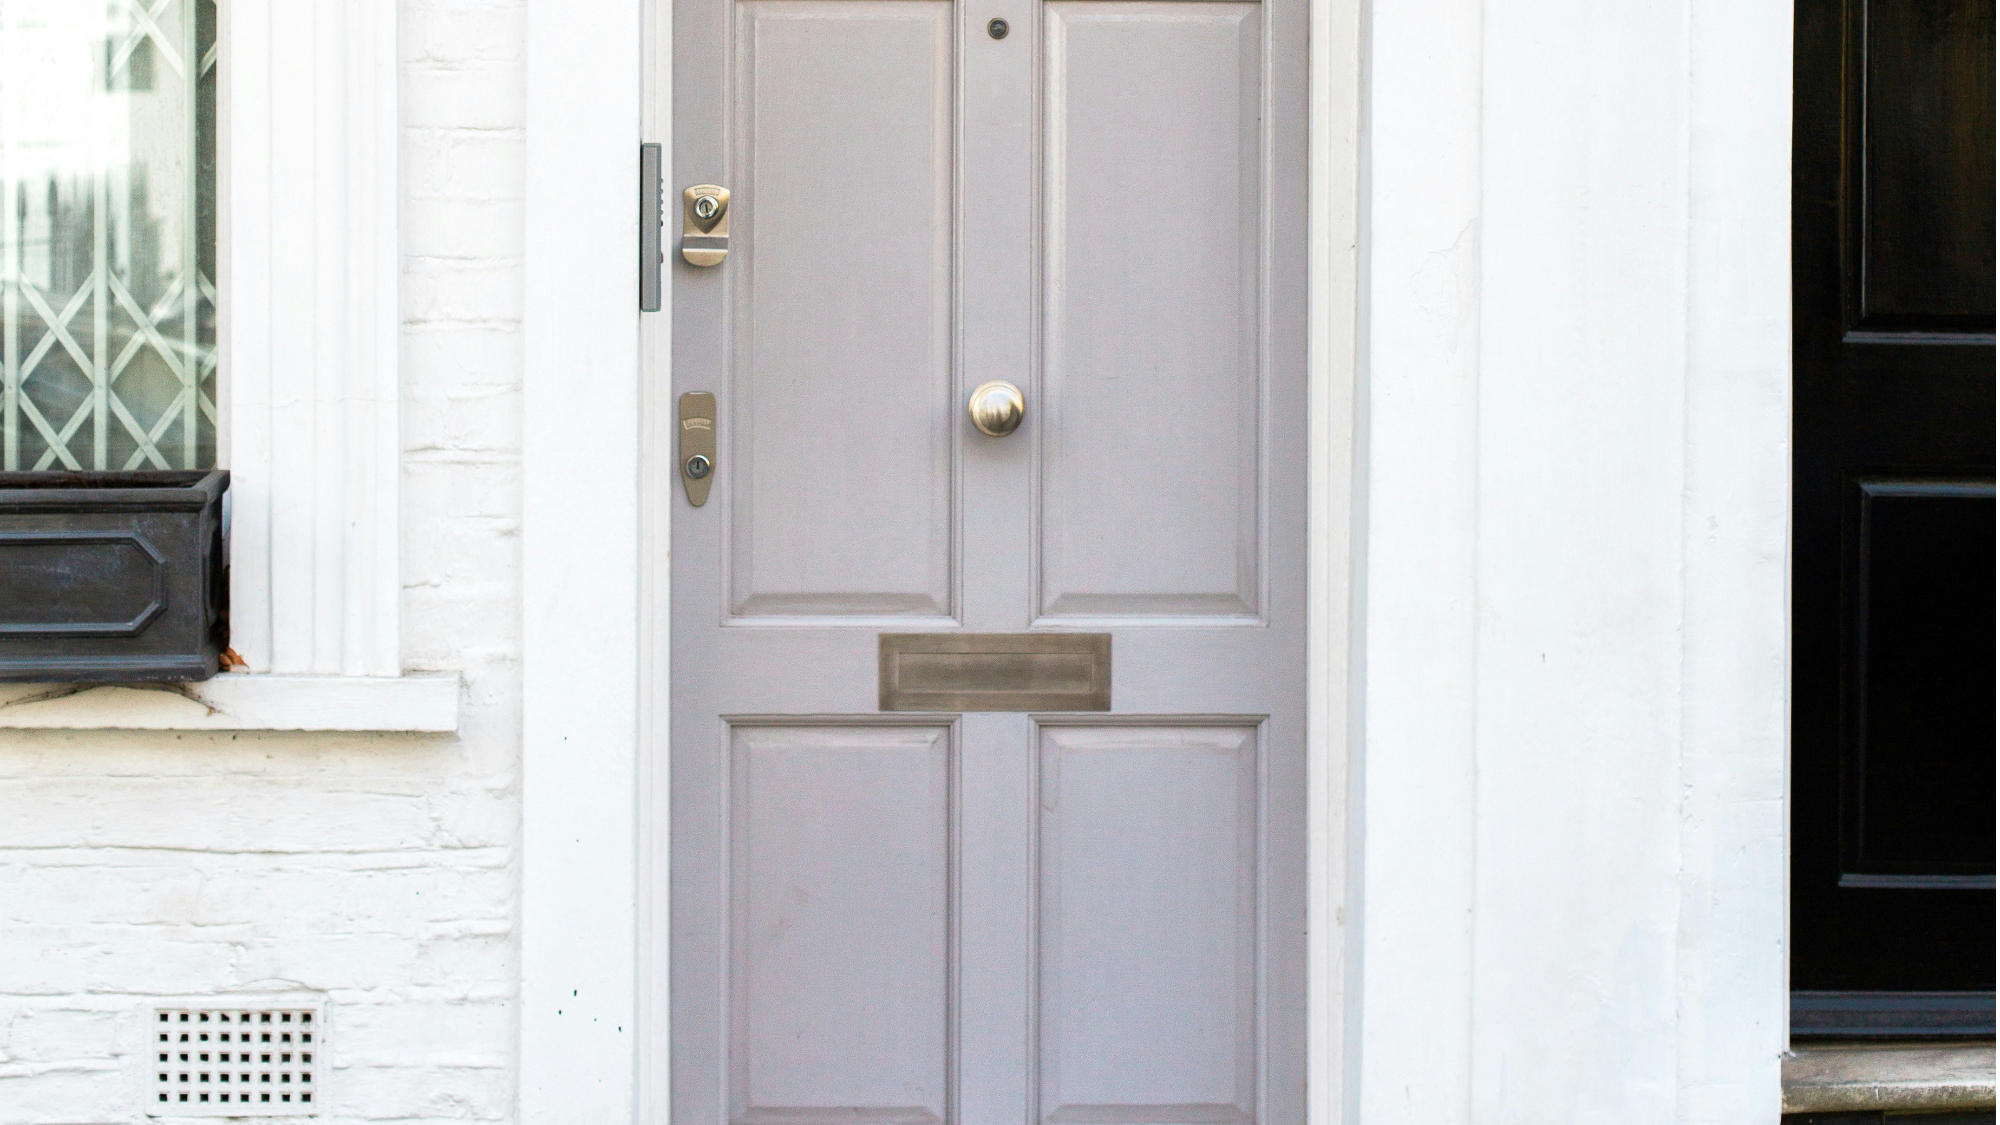
How to Fit (or Replace) a Letterbox in a uPVC Front Door
Replacing a letterbox in a uPVC front door might seem daunting, but with the right tools and a little patience, it’s a job most confident DIYers can manage. Whether you're upgrading your letterplate for a fresh look or swapping out a draughty or broken unit, this step-by-step guide will take you through the process safely and efficiently.
What Makes uPVC Doors Different?
Before you start, it helps to understand the construction of a uPVC door. Unlike traditional timber doors, uPVC doors are made from a rigid plastic outer shell, filled with insulation, and often reinforced internally with thin steel. That means:
No timber to screw into: Letterboxes are secured with self-tapping machine screws that fasten the inner and outer halves together through the door skin.
Risk of crushing: Overtightening screws can dent or crack the plastic face of the door.
Cutting new apertures: If you're fitting a letterbox for the first time, you’ll need to cut through plastic and potentially steel reinforcement.
Tools & Materials You’ll Need
Supplies
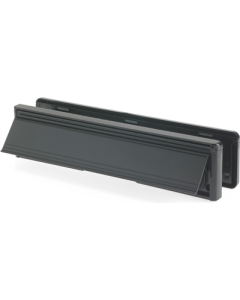
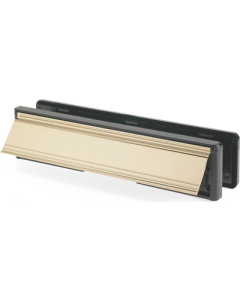
Telescopic uPVC letterbox kit (usually adjustable between 40–80 mm)
4 × stainless steel self-tapping screws (typically supplied with the kit)
Clear, low-modulus uPVC-safe silicone
Tools
Pozi #2 screwdriver or 8 mm nut driver (depending on screw heads)
Drill/driver with low-speed clutch
Fine-tooth pad saw or oscillating multi-tool
10 mm HSS drill bit + step bit (for new cut-outs)
Isopropyl alcohol wipes
Craft knife
Masking tape
Safety glasses & gloves
For new cut-outs only
10 mm HSS drill bit + step bit
Step-by-Step Instructions
1. Measure & Order the Right Letterbox
- Door thickness: Open the door and measure the slab edge-to-edge. Common sizes include 44 mm, 68 mm, and 70 mm.
- Existing cut-out: If replacing an old unit, measure the height and width of the current aperture. Exterior plate widths are commonly 250 mm or 300 mm.
Tip: Choose a telescopic (adjustable-depth) letterbox that matches your door thickness and overlaps the existing cut-out by at least 5 mm on all sides for a clean, sealed finish.
2. Remove the Old Letterbox
- Support the outer plate: Hold the external part of the letterbox to prevent it from falling and damaging the door skin.
- Unscrew from the inside: Most units are held with 2- 4 screws, often hidden under brush strips - use a flat-head screwdriver to push them aside.
- Separate the halves: Pull away the internal half, then remove the outer. Keep any spacers or wedges in case your new unit requires them.
3. Prep the Opening
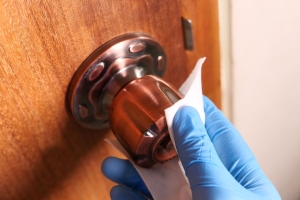
- Clean the area: Use isopropyl alcohol wipes to remove old sealant and grime.
- Dry-fit the new sleeve: Check for tight spots or burrs that prevent a flush fit, and tidy up with a craft knife if needed.
Fitting a new cut-out?
- Mark your rectangle and mask around the edges to avoid scratches.
- Drill a 10 mm hole in each corner through both the plastic and any steel reinforcement.
- Use a fine-tooth saw or multi-tool to join the holes. Keep your cuts square for a neat, flat fit.
4. Install the New Letterbox
- Test-assemble without silicone: Ensure the outer and inner plates come together cleanly without force.
- Seal the outer plate: Run a continuous 2–3 mm bead of low-modulus silicone around the back edge of the exterior (weather-facing) plate.
- Fit and fasten:
- Insert the outer half until the silicone gently meets the door.
- Align and attach the inner half from indoors.
- Hand-start the screws, then finish using the drill set to its lowest clutch setting. Tighten just enough to compress the gasket evenly - don’t overtighten.
- Clean up: Wipe away excess silicone with an alcohol-damp cloth.
5. Final Checks
- The flap closes fully on its own, with no sticking or dragging.
- The brush or foam seal contacts evenly on all sides (essential for draught and UV protection).
- From outside, check for a consistent silicone seal. If there are any gaps, apply a fine top-up bead to ensure a weatherproof finish.
Frequently Asked Questions
Can I use any letterbox in a uPVC door?
Not quite - make sure it's a uPVC-compatible, telescopic model that matches your door thickness and covers the aperture with a clean edge, like this letterbox from Eurospec.
Do I need to seal both sides?
No - only the outer (weather-exposed) plate should be sealed. Sealing the inner can trap moisture.
What if the door panel flexes?
Use the supplied wedges or spacers to help distribute pressure and avoid crushing the plastic when tightening screws.
Buying a new letterbox
No matter the style of letterbox you're looking for, we stock a huge range of different options. Take a look at our options on our replacement letterbox page.


-
 Yale 12" 40/80 Letter Plate Black B-YLP-4080-BL£16.45 £13.71 EachIn Stock
 -
 From The Anvil 45443 Polished Nickel Traditional Letterbox£288.98 £240.82 EachIn Stock
 -
 From The Anvil 45444 Polished Chrome Traditional Letterbox£302.14 £251.78 EachIn Stock
 -
 Eurospec ES300 Brass Intumescent Letterbox 10 Inch (Fs300) Polished Brass£50.20 £41.83 EachIn Stock


 Polished Brass")