


How to Install a Pocket Door

How to Install a Pocket Door
A pocket door is a sliding door that disappears into a cavity (pocket) inside the wall when opened. It’s a clever space-saving solution for compact areas such as ensuites, bathrooms, and utility rooms. Installation takes some preparation but, with the right tools and care, it’s achievable for a competent DIYer.
Although they might feel like a modern innovation, pocket doors actually have a long history in the UK. First popular in grand Victorian and Edwardian homes as elegant space dividers, they fell out of favour for much of the 20th century before returning with modern hardware that makes them much easier to use and maintain than their ancestors. With a renewed focus on space-saving when it comes to interiors, they’re a great way to open up a little more of your home without making big changes.
As this is a slightly more complex job than the average bit of DIY, we’ve added a helpful glossary at the end of this article which explains all the terms we use.
Tools & Materials You’ll Need
- Pocket door kit (frame, track & fittings)
- Suitable door (check size and weight compatibility)
- Spirit level & tape measure
- Screwdriver or drill
- Screws & fixings
- Stud finder
- Hand saw or circular saw
- Plasterboard
- Safety gear (gloves, goggles, dust mask)
Optional but useful: timber packers, construction adhesive, and a multitool for trimming.


Step 1: Prepare the Wall Opening
- Check suitability: Pocket doors work best in stud walls. Use a stud finder to confirm the space is clear of wires or plumbing.
- Measure carefully: The rough opening should be about twice the width of the door plus the frame thickness.
- Create the opening: Remove the plasterboard to expose the studs, or build the pocket into a new stud wall if starting from scratch.
- Tip: Make sure the wall can structurally accommodate the pocket. Avoid load-bearing walls unless you’re consulting a professional.
Step 2: Install the Pocket Door Frame
- Assemble the pocket door kit according to the manufacturer’s instructions.
- Fix the track across the top of the opening. Use a spirit level – accuracy here ensures smooth sliding.
- Position the pocket frame on one side of the opening, making sure it is square and plumb.
- Secure the supplied vertical studs and noggins firmly.
Step 3: Hang the Door
- Attach the rollers to the top of the door.
- Hook the rollers into the track and gently slide the door into the pocket.
- Adjust the hangers so the door sits level, clears the floor evenly, and slides smoothly.
Step 4: Fit Guides and Stops
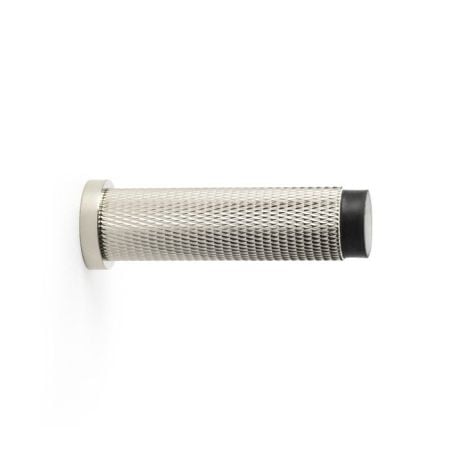
- Install the floor guide at the base of the opening – this prevents the door from swinging.
- Fix door stops in the track to control the open and closed positions.
- Test the action to ensure the door glides smoothly and closes flush.
Step 5: Finish the Wall
- Once the frame is secured and the door runs correctly, re-cover the pocket frame with plasterboard.
- Tape, skim, and decorate as required.
- Fit architrave or trim around the opening for a neat finish.
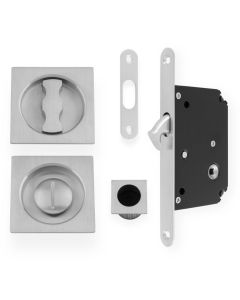
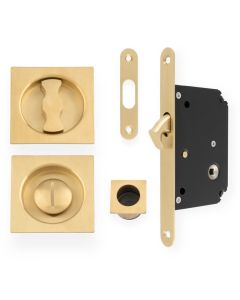
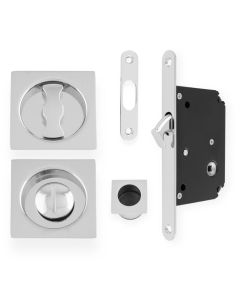
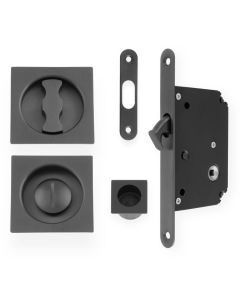
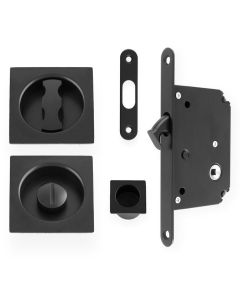
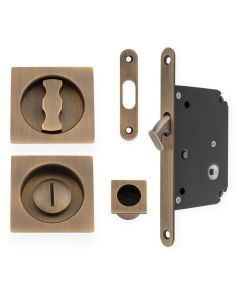
Step 6: Fit Hardware
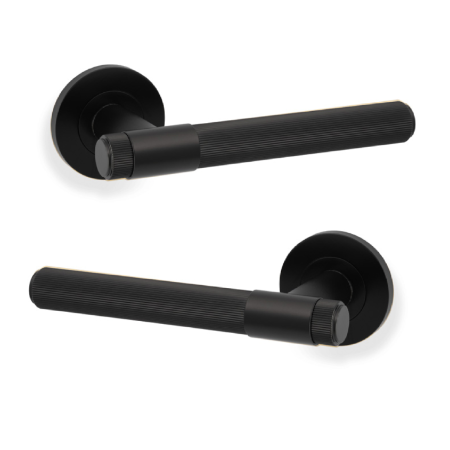
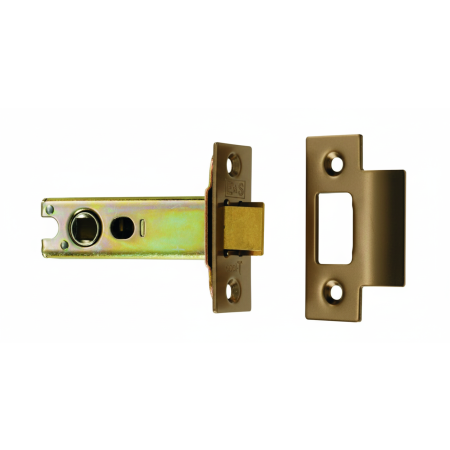
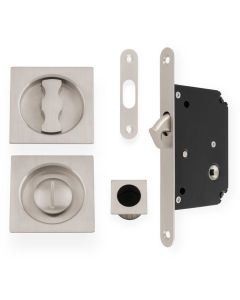
- Install a flush pull handle or a pocket door lockset. These sit flush within the door, so they won’t obstruct sliding.
Final Checks & Safety Notes
Always wear appropriate safety gear when cutting or drilling.
Double-check that the door is suitable for the weight rating of the track and rollers.
Test the door several times before finishing the wall to avoid having to undo work later.
Installing a pocket door is definitely at the more difficult end of the spectrum of DIY, but done correctly, it delivers a clean, space-saving solution that enhances both style and practicality in compact areas. Follow the information on this page, and you’ll soon join the growing ranks of pocket door users nationwide.
Glossary of Terms
Architrave
A decorative moulding or trim fitted around a doorway to hide joints and create a neat finish.
Flush Pull / Flush Handle
A handle set into the face of the door so it sits flat. This allows the pocket door to slide fully into the cavity without obstruction.
Noggin
A short horizontal piece of timber fixed between vertical studs in a wall or frame. Noggins add strength, prevent studs from twisting, and provide fixing points for plasterboard or hardware.
Rollers / Hangers
The wheel fittings attached to the top of the door, allowing it to glide along the overhead track.
Spirit Level
A tool used to check that surfaces are perfectly horizontal (level) or vertical (plumb). Essential for ensuring smooth door movement.
Stud Wall
A wall built from a timber or metal frame, covered with plasterboard. Common in modern construction, and suitable for housing a pocket door cavity.
Track
The overhead channel fixed at the top of the pocket opening. The rollers run along this track to slide the door in and out.